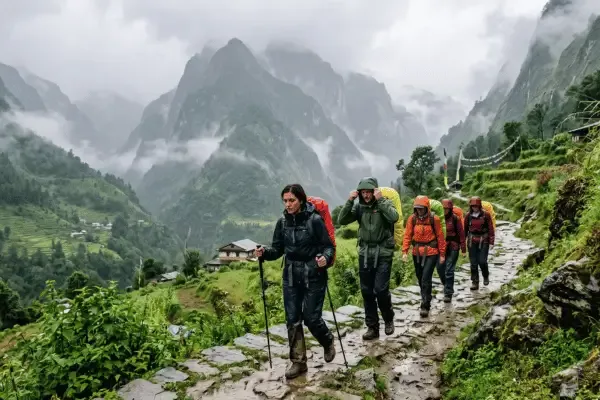
Avoid rushing or pushing your body beyond its limits, allow yourself enough time to adjust to low oxygen levels, ascend as slowly as you can, and include rest days in your itinerary. Controlling your pace, eating daily (mostly carb-rich foods), and avoiding alcohol and smoking are a must. Once you make it up to 3,000 m (9,842.52 ft), limit your altitude gain to a maximum of 500 m (1,640.42 ft) a day and strictly follow an acclimatisation day. Don’t brush off the signs such as headache, nausea, dizziness, unusual tiredness, or a sudden drop in energy during the journey. If you feel like these symptoms are getting worse day after day, stop going further or ascending. Descend as low as you can until you feel normal, and get medical help if needed.

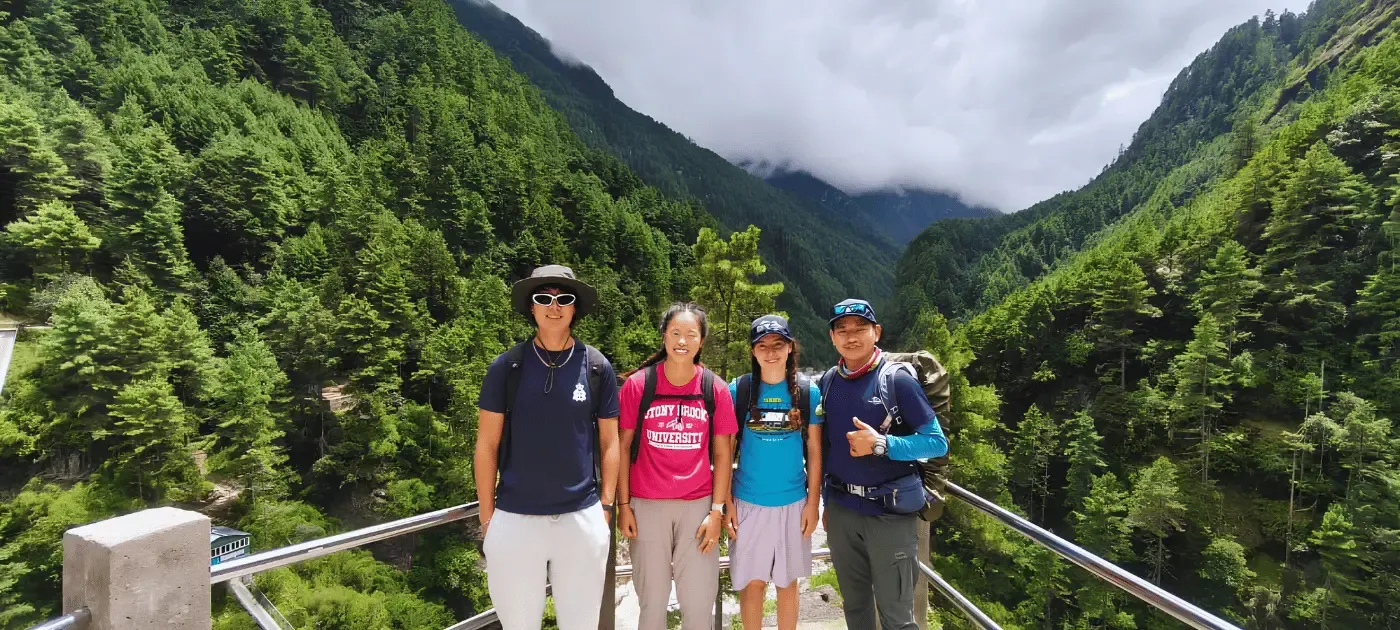
High-Altitude Trekking Tips: Essential Rules for Acclimatization and Safety
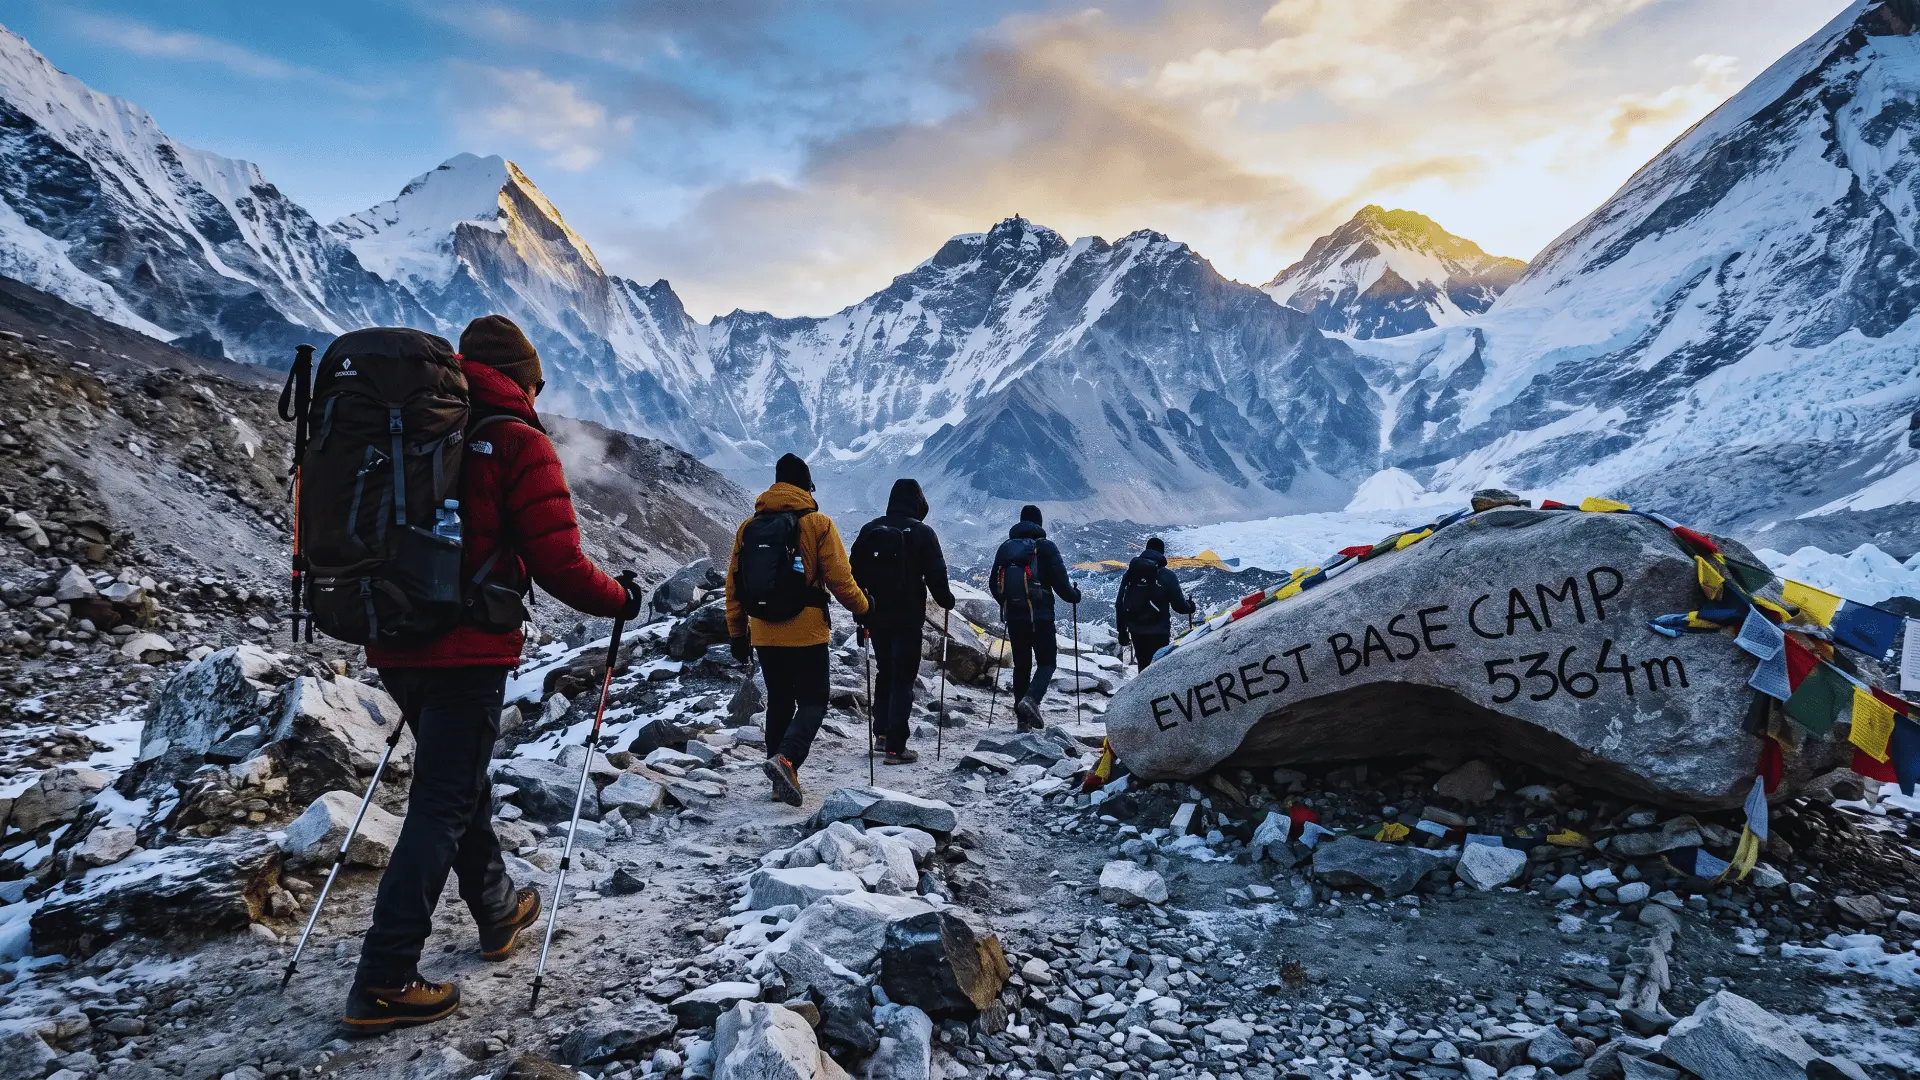
Why Acclimatisation Matters On A High-Altitude Trek
You must educate yourself regarding acclimatisation and safety tips for high-altitude trekking when making plans. One of the first things to know is to give your body a little time to adjust to lower oxygen levels. When you gain elevation, your body has to work accordingly because the higher the altitude, the thinner the air. Hence, ascending in a rush can cause you problems in the mountains.
At high altitude, your fitness level and age don’t matter at all. Even young, physically fit individuals who regularly exercise get ill at any time after reaching 2,500 m (8,200 ft). This is why acclimatization is important, and most trekking itineraries include at least one extra night in a higher village when the journey is more than a week.
In this blog, we’ll discuss high-altitude effects, how to prepare for them, and how to make sensible decisions while you’re up there. Before heading into the mountains, follow our complete trekking preparation guide to learn what you should prepare before departure.
How Does Acclimatisation Work At High Altitude
If you’re wondering how acclimatisation works, just know it’s all about giving the body enough time to adjust to the altitude. The oxygen level differs with elevation, meaning the availability of oxygen in the mountains are lower compared to lower areas. Consequently, your body needs time to catch up and walking fast can put you in serious trouble.
Not necessary that you feel instantly sick after reaching 2,500 m quickly; the result may begin to reveal itself the following day after you wake up from your sleep. You might feel a headache, dizzy or exhausted even after having enough rest.
You need to be especially careful with your sleeping elevation above 3,000 m. Don’t aim to reach more than 500 m to stay overnight, and adding an acclimatization day after reaching such a height is a smart move. If your adventure lasts more than a week, you can add one more day in your itinerary as a rest day after 3 to 4 days of 1st acclimatization day.
Even the Wilderness Medical Society (WSM) recommends the same thing. Furthermore, don’t hit the bed to sleep right after you arrive at the hotel after a long day of hiking.
| Situation |
What it means |
|
Slow ascent |
Your body gets more time to adjust |
|
Fast ascent |
Higher chance of altitude |
|
Rest day |
Extra time for your body to adjust |
|
New symptoms |
Stop and check what’s going on |
Even if you’ve got several experiences of successfully trekking in the mountains, it doesn’t mean you’ll be successful next time too. Yes, you’ll have a somewhat higher chance of getting acclimatized than first-timers, yet your body still has to adjust each time you go hiking in the mountains.
To acclimatize at altitude is simple if you’re cautious. All you need to do is go higher slowly, give your body time to catch up, and not take symptoms of altitude sickness lightly.
A well-planned acclimatisation trek itinerary follows the same idea: build in enough time for your body to adjust before taking on the next big altitude gain.
How Fast Should You Ascend: Follow The 500-Meter Rule
Understanding the altitude gain per day isn’t that complicated. Just follow the 500-meter rule after you reach 3,000 m. Only aim to hike up to 500 m each day above the mentioned height for the rest of your trip, no more than that.
Besides, including a rest day at least once in your itinerary can be the icing on the cake of your journey. Simply plan it this way: 3000 m to 3,500 m first, then follow an acclimatization day, and ascend to 4,000 m.
The rule is all about where in elevation you sleep each day, not making it up to the highest as you can. It’s never a good idea to go directly from a low-elevation area to a very high sleeping altitude in a single day. Nevertheless, some day, if you want to reach the highest point, let’s say 3,800 m, you may do it, but you should come back down to 3,400 m to sleep.
It’s understandable that not all trekking routes have settlements or teahouse areas exactly within 500 m, making you go a bit higher for an overnight stay. In such a condition, you can add a rest day before or after the higher elevation gain.
Doing so can help you control the overall ascent rate. So the 500 m is just a standard upper limit for stopping for the night above 3,000 m, not an exact number you have to reach daily during the trek.
See how these acclimatisation principles are designed into our Manaslu Circuit Trek itinerary.
Plan Acclimatisation And Rest Days Properly
An acclimatisation day is essential for a long mountain trek lasting more than a week. By following it, you can help your body get some extra time to catch up with altitude and prepare for climbing higher the next day. According to WMS, it’s like not advancing your sleeping altitude every 3 to 4 days once you finally reach 3,000 m.
Nevertheless, an acclimatisation day doesn’t mean taking a full day’s rest at your teahouse. What most trekkers do on this day is hike a nearby hill or viewpoint in the morning, return to their teahouse in the afternoon, have lunch, spend the rest of their leisure time relaxing, and get a proper sleep at night.
The Centres for Disease Control and Prevention (CDC) also states that walking to a higher point during the day and sleeping at a lower point at night is the best way to prevent altitude sickness. There’s also a famous slogan in the world of trekking: climb high, sleep low. You’ll hear it often from your guide.
It’ll be wise to add rest days for altitude to your itinerary when designing it. Don’t think you’ll take a rest and spend an extra night at the same point in case you somehow feel uneasy during the trek.
Our Everest Base Camp Acclimatisation itinerary shows how to acclimatise while trekking and how these rest days work in detail.
Recognise The Early Signs Of Altitude Sickness
Don’t lose yourself in the heat of excitement of the stunning views. Enjoy your journey to the fullest, but at the same time, also think about the early signs of altitude sickness, also known as Acute Mountain Sickness (AMS), such as:
- Headache
- Nausea
- Dizziness
- Unusual tiredness
- Loss of appetite
- difficulty sleeping
Among them, headache is the most common and usually occurs above 2,500 m, with a higher chance of happening if you’re careless when trekking. You shouldn’t brush off any of these early symptoms of altitude sickness. They don’t give you any warning; you can suffer from either of them at any moment as you gain altitude.
Don’t climb higher hoping they’ll disappear after some while; instead, inform your guide. If necessary, you’ll be taken down to at least 500 m or even below, depending on your condition. Take proper rest at a lower point, and if you feel well and confident the next morning, you can continue your journey; if not, turning back halfway may be your only option.
If AMS gets worse, it turns into high-altitude pulmonary edema (HAPE) or high-altitude cerebral edema (HACE). Both are life-threatening. HAPE affects the lungs by causing fluid to build up there, while HACE causes fluid to build up in the brain.
You’ll face problems such as trouble breathing and feeling more tired even when resting in HAPE. HACE, on the other hand, makes you feel confused, have difficulty looking straight, and have trouble walking normally.
| Symptoms |
What to do |
|
Mild symptoms |
Stop gaining altitude and monitor yourself. |
|
Symptoms getting worse |
Tell your guide and reassess. Don't continue higher. |
|
Confusion, severe weakness, trouble walking, or serious breathing problems |
Treat it as an emergency. Descend and get urgent medical help. |
Tip: Take action immediately before it’s too late. If you suspect HAPE or HACE developing in your body, descending should be your only priority, and a victim should be accompanied by a few trekkers in the process.
What To Do If You Develop Altitude Sickness
If you start feeling sick at altitude, don’t try to push through it just to reach the next village. The first response to altitude sickness is simple: stop ascending and tell your guide or trekking partner. Sit down, rest, and see whether your symptoms settle.
A simple way to treat altitude symptoms is:
Symptoms → Stop ascending → Tell your guide → Rest and assess → Feeling better? Continue carefully → Not improving or getting worse? Descend and get help.
If your symptoms are mild and start improving at the same altitude, you may be able to continue later. But don’t go higher while symptoms are still there. If they get worse even while resting, descent is the safer option.
When It Becomes An Emergency
Confusion, difficulty walking, severe weakness, or serious breathing problems aren’t symptoms to simply ignore. They can indicate a serious mountain emergency, such as HAPE or HACE. In that situation, descend as soon as possible and get urgent medical help. Seriously ill trekkers should also not be left to descend alone.
The main thing is don’t let your itinerary decide for you. Missing a destination is far better than turning a manageable problem into a serious one.
As for medicines such as acetazolamide (available under the brand name Diamox), don’t start taking them on your own just because you develop symptoms. If you plan to use altitude medication, discuss it with a qualified healthcare professional before the journey and follow their advice.
For a more detailed explanation, see our guide to altitude sickness treatment.
How To Walk, Eat, Drink, And Sleep Safely At High Altitude
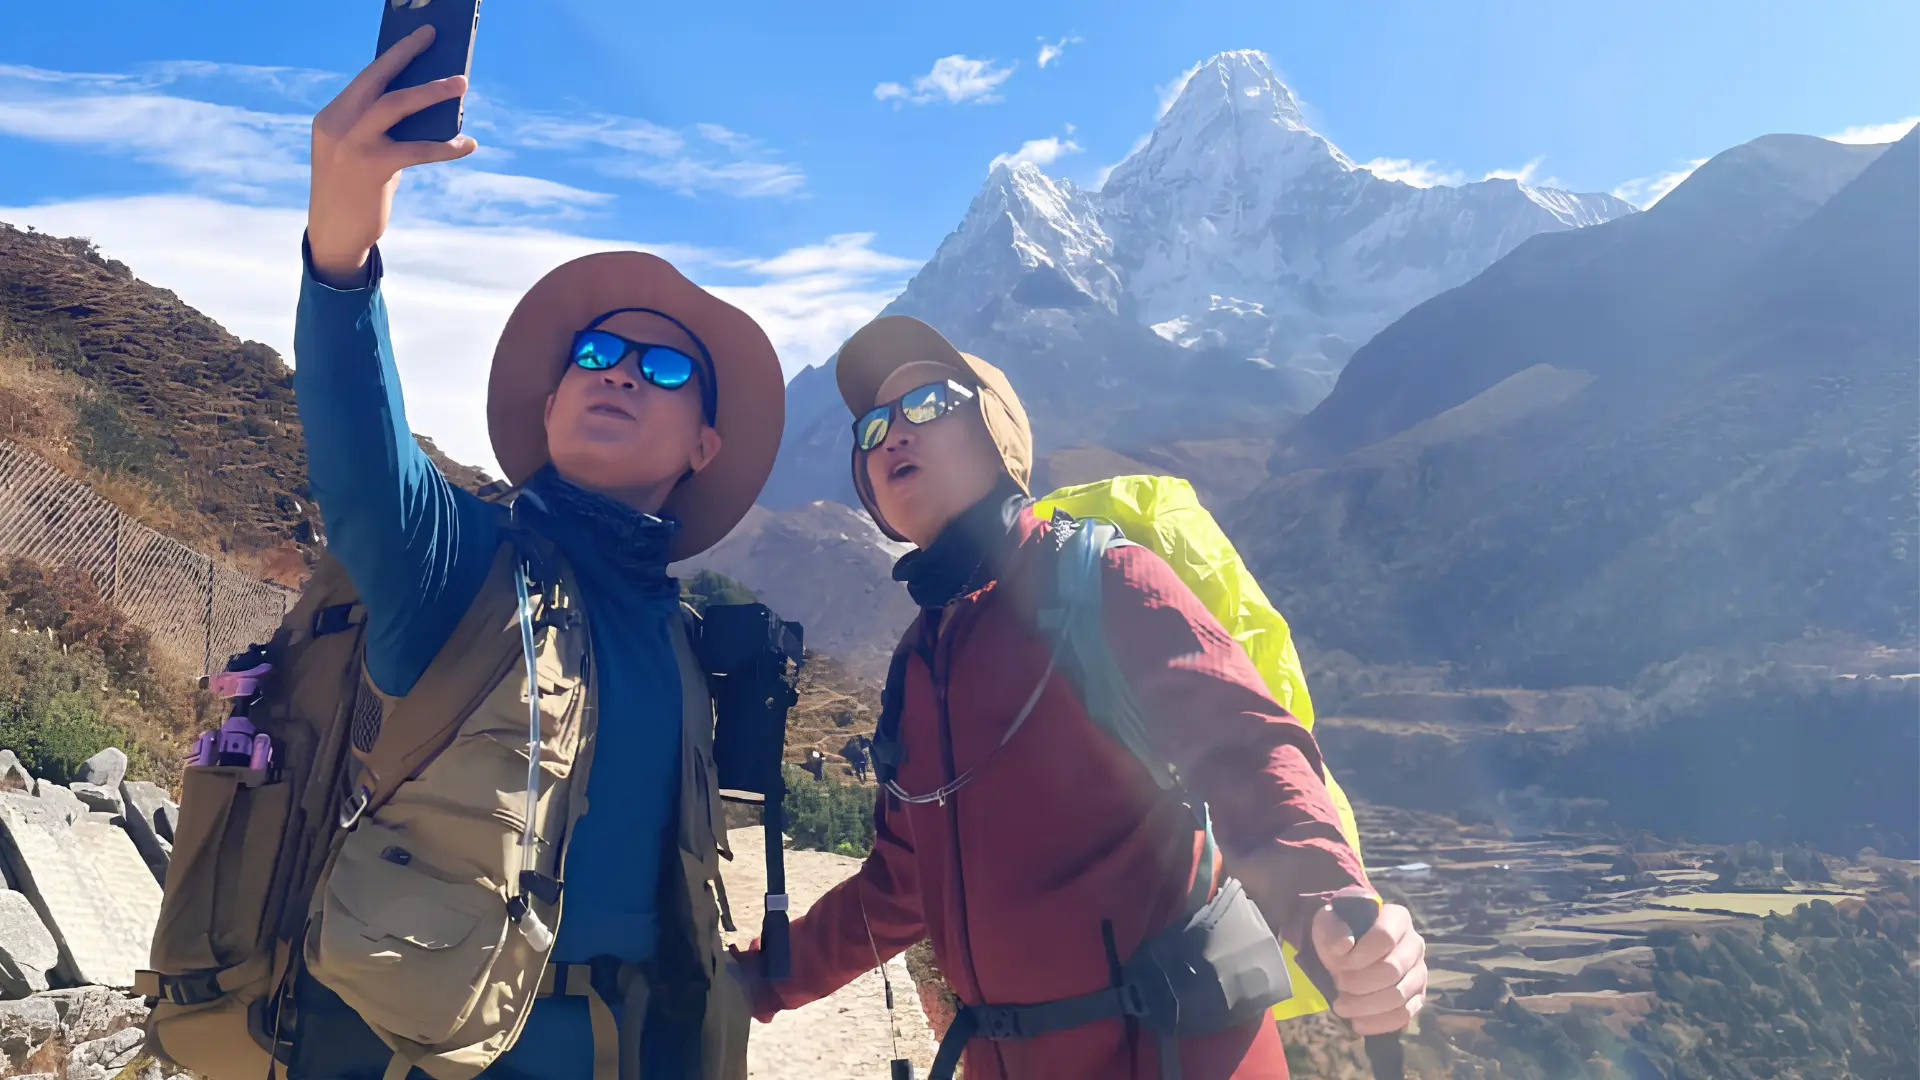
Once you understand what to do when you suffer from AMS, the everyday stuff also matters. You don’t need a tight routine. Just slow things down, eat when you can, stay hydrated, and give yourself enough time to rest.
Walking
Don’t think like you’re in a race or any sort of competition. There’s no prize for the one who reaches the destination first. So, keep a steady walking pace at altitude that lets you breathe comfortably.
A good trick is to let your guide set the pace and take short breaks whenever you need them. The first couple of days aren’t the time to prove how fast you can ascend.
Food
Your appetite might not be great at altitude, yet try not to skip meals. Eat regularly and choose foods that give you enough energy for the day’s hike. You don’t have to force down huge meals; just keep eating throughout the day. That’s the simple idea behind good trekking nutrition.
Water
Drink enough water; just don’t drink it only when you feel very thirsty. You should stay hydrated all the time when you’re hiking in the mountains. Drink at least 3 to 4 litres of water a day. It’ll be very helpful to prevent altitude sickness. Moreover, skip alcohol totally during the trek while you can, as it causes dehydration.
Sleep
Give yourself plenty of time to rest, even if your sleep isn’t as comfortable as it is at home. It’s quite common for sleep to feel a little different while your body is getting used to altitude.
That’s really it: walk at a comfortable pace, eat regularly, drink water even if you’re not thirsty, don’t underestimate the value of a good night’s rest.
See our trekking food and hydration tips for practical advice on eating and drinking in the mountains.
What Should You Avoid During High-Altitude Trekking
Knowing what not to do can save you a lot of trouble in high-altitude locations. Some trekking mistakes might seem harmless at first, but in the mountains, they can quickly become bigger problems.
- Don’t go up too fast; instead, give your body time to get used to the altitude.
- Don’t ignore how you feel. If you suspect early signs, such as headache, nausea, dizziness, or unusual tiredness, happening to you, you should take it seriously before it gets worse.
- Don’t drink alcohol during the trek, as it has a higher chance to dehydrating your body.
- Don’t push through serious exhaustion. Take frequent breaks of at least 5 to 8 minutes when hiking. Doing so gives your body some time to recover.
- Don’t assume every headache is harmless, as it can be an early sign of AMS.
- Don’t depend on fitness alone. Having a good fitness level is always good, but it doesn’t mean that you can quickly adjust to altitude.
- Don’t stick to a bad itinerary just to save a day. One extra night is much better than hiking in a rush.
- Don’t keep symptoms to yourself. Tell your guide or trekking partners immediately after you feel uneasy.
Myth Vs Fact
| Myth | Fact |
|
I’m fit, so altitude sickness won’t affect me. |
Fitness doesn’t protect you from illness; even very fit people can get sick at altitude |
|
It’s only a headache; I’ll just keep walking |
Don’t assume that. A headache can be one of hte early signs of AMS, so stop gaining height and see hou you feel. |
|
I’ve trekked high before, so I’ll be fine this time. |
Previous experience doesn’t guarantee the same response on your next trek. Your body still has to adjust each time. |
These simple things to avoid at high altitude can make a real difference. Don’t let a tight schedule or the pressure to reach the next stop make you ignore what your body is telling you. Avoid these and other common trekking mistakes before starting your high-altitude adventure.
High-Altitude Trekking Safety: When Should You Stop Or Descend
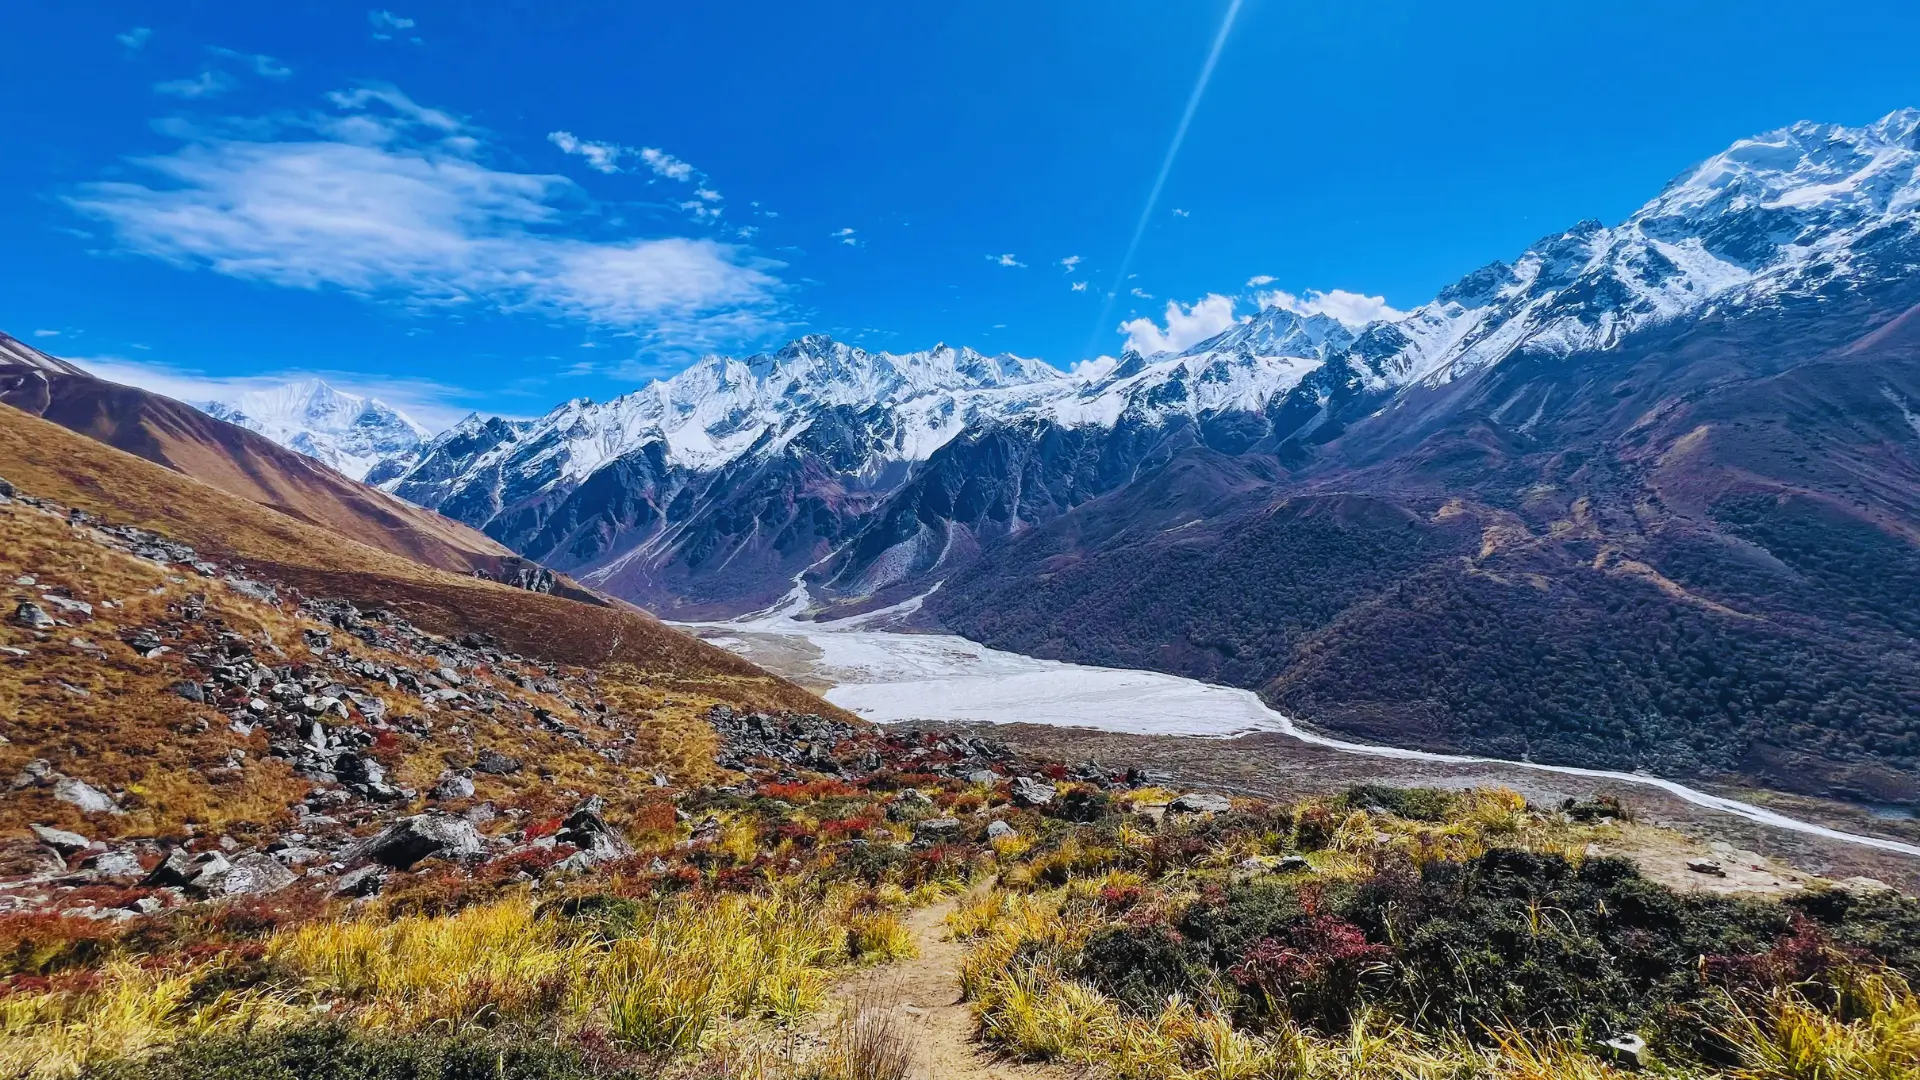
When you’re planning your future adventure in the mountains, you should also be clear about when to descend from altitude. Understanding it is just as crucial as knowing how to acclimatise.
If you feel like the symptoms of AMS are getting more severe or you suspect HACE or HAPE is developing in your body, don’t go any further up. You should inform your guide or trekking partners in no time
Stop And Descend
Confusion, difficulty looking straight, trouble walking normally, trouble breathing, or severe weakness = emergency treatment required. Don’t climb; instead, seek help and prioritise immediate descent as low as possible
Having a headache doesn’t always mean a serious condition. A mild headache is common and can sometimes happen due to cold or exhaustion. However, if it worsens and begins to show other symptoms as we discussed above, it’s no longer mild, but a clear sign of HACE or HAPE. You need urgent action in both circumstances.
Symptoms showing up at night should also not be brushed off. If you feel something’s off with your body while sleeping, don’t wait for morning; tell your guide or partner right away and get help.
Emergency descent can be demanding if the weather is unfavourable or the trail isn’t in good condition. So, it’s necessary to hire an experienced guide who has better knowledge of the route and can find alternatives if the regular trail is dangerous to descend. They can arrange help based on the weather, terrain, communications, and medical support available.
Your Guide And Emergency Plan Matter
You should have a good guide, and there should be open communication between you and them. Feel free to ask anything regarding trekking to your guide along the trail. Let them know in time if you feel uneasy, keep important emergency contacts accessible, and know beforehand how evacuation would work from the area you’re trekking in.
Your guide and emergency plan matter
This is where travelling with a good guide and keeping communication open really helps. Tell your guide about symptoms early, keep important emergency contacts accessible, and know earlier how evacuation would work from the area you're trekking in.
Don’t forget to buy travel insurance from a local company in your country before leaving for trekking in Nepal or any other country. Ensure that your policy covers helicopter rescue, medical fees, and delays or lost luggage.
You should be clear about one thing: even if your policy includes helicopter evacuation, sometimes the weather, location, visibility, and poor communications can affect it. Hence, sometimes in a serious high-altitude emergency, you need to take basic action with the help of your guide rather than waiting for a helicopter to come.
Prior to your journey, learn how helicopter rescue in Nepal works and what emergency evacuation may involve.
How To Prepare A Safe High-Altitude Trekking Plan
Good safety planning for trekking starts before you even reach the starting point. The idea isn’t to draft the most complex itinerary possible. It’s to give yourself enough time, enough flexibility, and a sensible plan for dealing with altitude.
Before The Trek
- Choose a suitable itinerary. Along with the trek’s duration, also focus on how quickly the route gains altitude.
- Check the highest sleeping elevations. These matter more for acclimatisation than the highest point you briefly reach during the day.
- Build in acclimatisation days. Most recommended sleeping-altitude gains above 3,000 m are 500 m per day, and also a rest day in the gap of 3 to 4 days.
- Consult with a healthcare professional about any health issues at your planned altitude, and whether you need specific advice or medication.
- Pack suitable clothing and equipment. The mountain weather is unpredictable, so bringing gear suitable for any condition would be wise.
- Buy travel insurance and ensure your policies cover emergency helicopter rescue, hospital fees, and other costs.
During The Trek
Once you’re walking, keep things simple:
- Follow the planned ascent rate rather than rushing ahead.
- Keep monitoring your health condition each morning and throughout the day.
- Let your guide know if you feel something’s off in your body.
- Eat daily and keep your body hydrated.
- Don’t wait for the next settlement to come; take a short break right on the spot if you feel tired.
- Don’t hide early signs just because you don’t want to slow your group down.
Before Going Higher
Before ascending further the next day, ask yourself:
- Am I feeling well?
- Did I sleep reasonably well?
- Have I developed any new symptoms?
- Is today’s sleeping-altitude gain reasonable?
- Are the weather and trail conditions good?
If the answers to any of these questions aren’t something you’re expecting, consult with your guide before continuing. Proper preparation for a high-altitude trek should include flexibility to slow down or change the itinerary when conditions are unfavourable.
A successful high-altitude journey doesn’t mean reaching the highest point as fast as possible. It means not overwhelming your body, letting it have enough time to adjust, and knowing when safety comes before the itinerary.
For more practical advice, read our complete Nepal trekking safety guide before your trip.
Essential Safety Gear & Medical Kit For High-Altitude Trekking
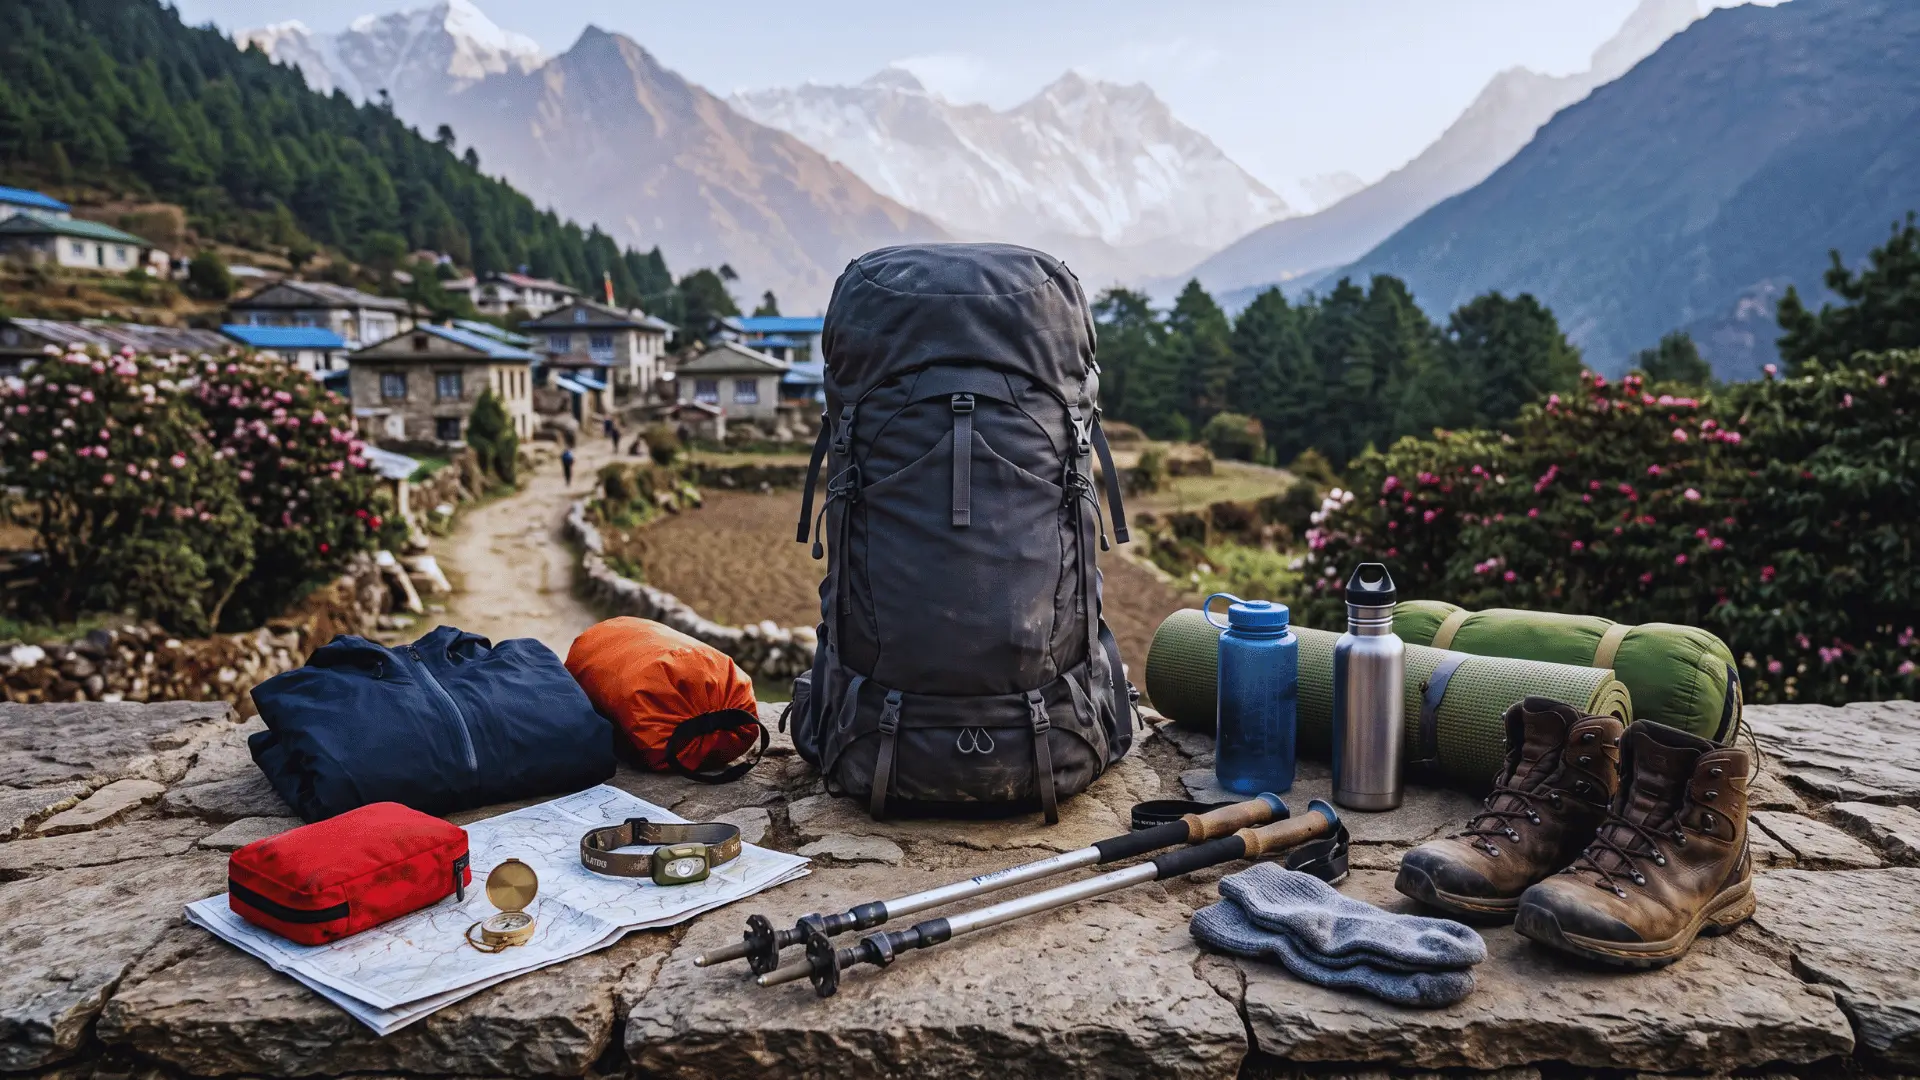
When trekking somewhere remote, it’s essential to be aware of some gadgets that are there to support your judgement, not replace it. There’s no need to pack every gadget you can find; just some safety gear for trekking at altitude.
Monitoring & Health Check Tools
A portable pulse oximeter is a device that helps you check SpO₂ and resting heart rate. Don’t be too concerned about one reading; look at changes and trends over time and compare them with how you actually feel. It’s useful, but can’t diagnose AMS on its own.
Bring a small personal first aid kit. Ensure you have acetazolamide, ibuprofen, blister care, Oral Rehydration Solution (ORS), or paracetamol for mild headaches and suitable anti-nausea medicine.
Acetazolamide is helpful for preventing altitude sickness; still consult your trusted doctor regarding the medicine before buying it if you already have any health-related issues. Also, although it’s known for preventing altitude sickness, it won’t fix your problem quickly if you’re in a severe condition.
Emergency Communication & Navigation Tools
It’d be good if you’ve got a satellite phone or SOS device such as Garmin inReach, ZOLEO, or a PLB, as mobile network coverage isn’t strong on most mountainsides. Additionally, you can carry a trail map and compass to help you navigate the route or download offline GPS maps, while you’re still at home, such as Gaia GPS or AllTrails.
Environmental & Cold-Weather Protection
Ultraviolet (UV) rays in the mountains are brutal compared to lowlands, especially around snow sections. Hence, bring UV-protection sunglasses, sunscreen (minimum 50+ SPF), and lip balm.
Carrying a small item, a thermal emergency bivy or foil blanket, is also a smart move. It helps keep your body warm to some extent in case you get stuck due to bad weather, injury, or a trail issue.
Don’t forget to bring a water filter or UV purifier, such as a Sawyer Squeeze or SteriPEN, to reduce the risk of infections like Giardia. Even if the water seems clean along the way, it might not be safe for you to drink directly, as it takes time to become familiar with the new environment.
| Item |
Primary Function |
Why it matters at altitude |
|
Pulse oximeter |
Checks SpO₂ and resting heart rate |
Helps track changes over time |
|
Personal medical kit |
Basic first aid and common medicines |
Handles minor problems on the trail |
|
Prescription altitude medicine |
AMS prevention when prescribed |
Adds another layer of protection |
|
Satellite SOS device |
Emergency communication |
Works where mobile networks may not |
|
GPS + map and compass |
Navigation |
Provides a backup when signal fails |
|
UV-blocking glasses + sun protection |
Eye and skin protection |
Helps against intense mountain UV |
|
Emergency bivy/foil blanket |
Warmth and emergency shelter |
Useful during an unexpected stop |
|
Water purification |
Treats untreated water |
Reduces waterborne illness risk |
These are some essential gear for high-altitude trekking, but don’t fully depend on it. Your symptoms, your guide’s judgement, and the conditions on the trail still matter more than any modern gadget.
To make sure you haven’t forgotten an important layer or emergency stuff, check our detailed high-altitude packing list before you leave home for a nature walk.
Conclusion
Acclimatisation and safety tips for high-altitude trekking are important to follow when you’re in the mountains. They help you know your limits and the disadvantages of rushing. The trekking tips are simple: ascend gradually, listen to your body, and descend immediately if symptoms of altitude sickness worsen.
The more time you allow yourself to get familiar with the mountain environment, the more acclimatised you become. So, walk slowly by taking short breaks along the trail while hiking, take a rest day above 3,000 m if your journey is longer than a week, and don’t let a fixed itinerary make you go higher even when your situation isn’t normal. Enjoy Himalayan trekking, but always put safety first.
If you’re currently planning a safe Himalayan adventure, check out our safe Nepal trekking packages. We’ve designed sensible acclimatisation plans and trekking support to help you to make the most of your time